Another quick walk-through from ACSC5. This problem is called find_the_flag and can be found here.
Problem
Someone thought that using telnet was a good idea. Guess this should make your job a lot easier…..Find the flag
Solution
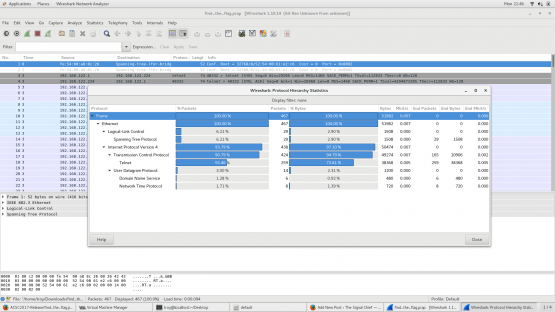
So this problem gives you a PCAP file that can be found here. Generally when I need to look at a PCAP file (especially one so small as this one), the first thing I turn to is Wireshark. When I first open up Wireshark, one of the first things I do is get some general information about the file itself by looking at the “Protocol Hierarchy”. Look at the image, you can see the bulk of it is Telnet traffic. On the off chance you live under a rock and don’t know why this is a nice, it’s because Telnet is completely unencrypted, which means we can sit there and look at everything that is going on across the wire.
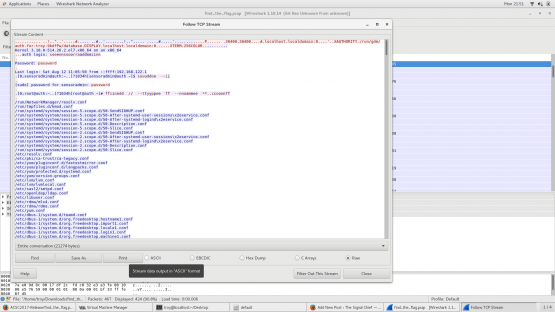
If you follow the TCP stream, the individual packets get tied together and we can actually see the conversation. Looking at the conversation, right off the bat, you can see the user password and sudo password (both of which happen to be “password”). 
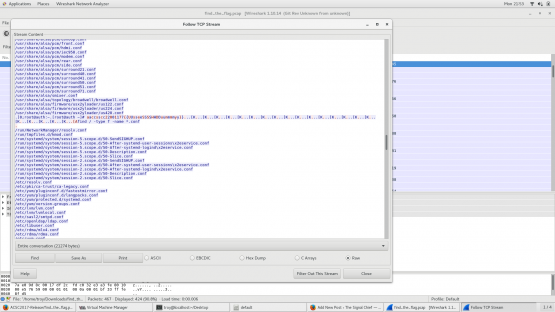
Next we see a ton of output with file listings. If we scroll down about half way, we see something that looks a little bit odd. It looks kinda like a flag, but it’s all screwy.
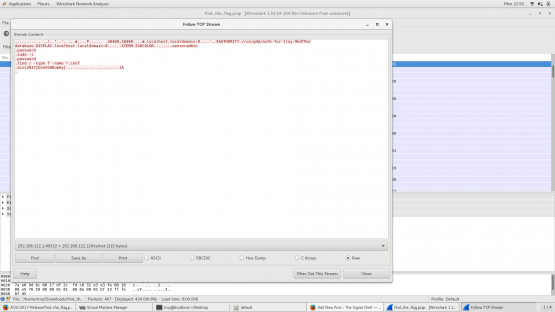
If I change my filter though to show only the part of the conversation that is originating from 192.168.122.1, suddenly things become a lot more clear and you can easily see that the flag is acsc2017{UseSSHDummy}.
A quick explanation of why it was all screwy at first. With telnet, every time I press a key to type a command, that letter is immediately sent across the wire to the telnet server and then echoed back to my display so when I press ‘a’ we immediately see the packet sending that letter and then that same letter being sent back to me as it’s echoed. By changing the filter to show only the workstation, we filter out the echos and just see my raw input.


